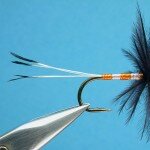
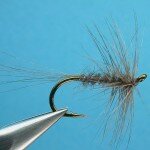
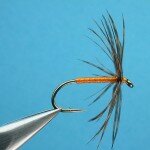
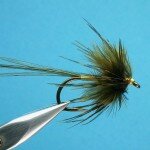
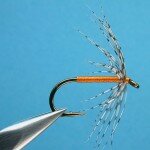
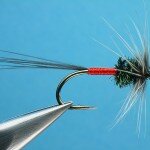
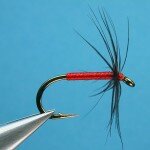
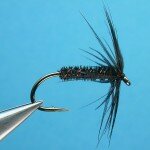
 Tom Park is originally from Montana, but now resides in Indiana. A life changing experience teaching English in Japan inspired him to begin fly tying. You might notice some Hans Weilenmann influence in his flies. With good reason, Tom has spent a fair amount of time admiring Hans’ fly tying and has enjoyed the Flymph Forum in the past. I encourage you to visit Tom’s page on Hans Weilenmann’s Flytier’s website. I asked Tom several questions which led to the article below written by Tom to answer my questions. Sit back, think soft hackle thoughts and enjoy.
From 1990-2001 I lived and worked in Sendai, Japan (only 10 miles inland from the northeast coast where the devastating earthquake and tsunami struck on 3/11/11) teaching English at a local university. One of my first students told me that she and her husband loved fly fishing. Long story short, for the next several years I enjoyed many fly fishing outings with them in the clear mountain streams of northern Japan catching the native trout, Yamame, and native char, Iwana. Yukio taught me the basics of fly tying, shared many of his materials and tools with me, including locating and buying for me Jack Dennis’ Western Fly Tying Manual! It wasn’t long before I was tying some perfectly awful looking flies, but some of which actually caught fish! For the next ten years my tying was pretty much focused on imitating local hatches or trusted impressionistic patterns, and flies that I would use during the mid-summer on Montana’s Bitterroot River, where I spent 2-3 weeks vacationing each summer, particularly caddis dry flies and soft-hackles.
After being frustrated by casting to large pods of rising trout in the summer evenings on the Bitterroot, but only catching the rare fish, I read of a similar experience that Dave Hughes had and wrote about in his book Tactics for Trout, where he would swing a soft-hackle, in this case a March Brown, down and across the rising fish. Much to my surprise, and relief, I started catching fish, and lots of them! Since then I have come to enjoy fishing soft-hackles and flymphs as much as I do fishing dry flies.
Fishing soft hackles using a down and across swing method (casting downstream approx. 45 degrees down and across the current and letting the fly swing across the current until it is hangs directly downstream of the fisherman, then taking a step downstream and recasting) allows the fly fisherman to cover a lot of water and potentially show the fly to lots of fish. If there is no hatch going on, and especially if I am limited on time or on a stream I am unfamiliar with, this is a great way to search for trout. Keep the rod tip high, about 35-45 degrees up during the swing, allowing the fly line to sag a little bit between rod tip and the water. This slack acts as a shock absorber when a fish strikes, often suddenly and violently. You will definitely feel the strike! There are other ways to fish soft hackles besides this method, each with its special advantage. This particular method is a great way for beginners to get into fly fishing, and to catch fish! The “perfect” overhead forward cast is not necessary, and setting the hook is done by the fish!
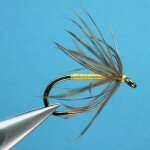
 Soft hackle flies are a great fly for beginners to start fly tying with. Not only are they one of the easiest patterns to tie, they are very effective to fish! The materials are usually quite minimal, often consisting of just a turn or two of hackle, and the tying thread. I enjoy using a very traditional material, Pearsall’s Gossamer silk tying thread, which comes in many colors, to tie most of my soft hackles. I like the sheen it has, the change in color when wet, and how it can be used as body material on very sparsely tied flies. It doesn’t have much bulk which allows me to make a small head on the fly. The only downside, if there is such a thing for this thread, is that the tier will need a midge size bobbin holder to hold the thread bobbin. These are not very difficult to find nowadays, although the thread itself may not be found in all fly shops, but can easily be found and ordered online.
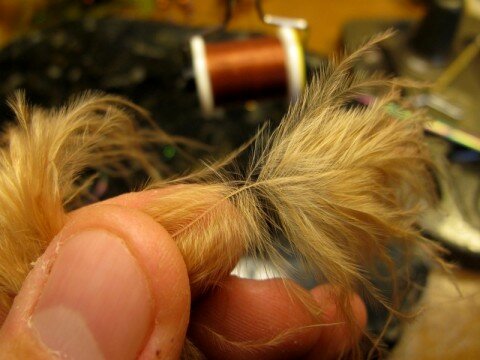
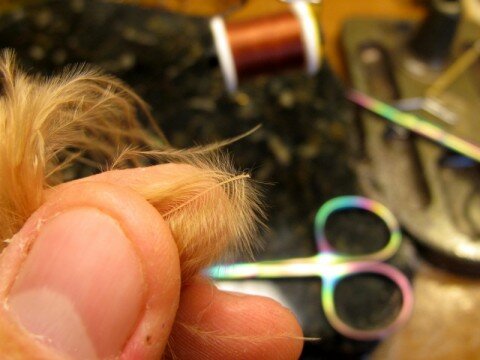
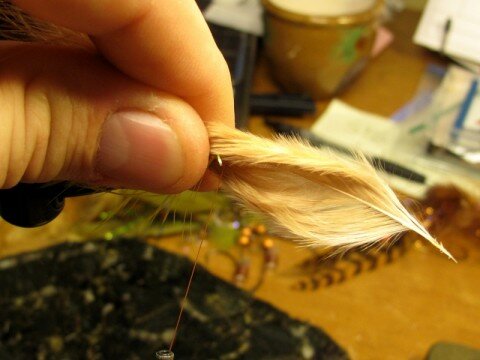
My favorite pattern is a Hare’s Ear soft hackle which I tie with tying thread, hare’s ear dubbing, and a turn or two of partridge hackle. I strongly recommend tying the hackle in by the hackle quill, having first been stripped of unwanted fibers, rather than by tying it in by the tip of the feather, which for some reason has been a common method taught in fly tying manuals for some time, even some videos. Tying the hackle in by the quill is a much easier method and allows the fibers more action in the water. Dave Hughes teaches this technique in his very instructive book, Wet Flies. Hans Weilenmann shows how simple tying these flies can be in some of his YouTube fly tying videos, where he shows how to “lock down” the hackle stem by making a thread wrap forward through the wrapped hackle. With the tying thread positioned just behind the hackle tie-in spot, wrap 2-3 turns of hackle behind the eye, winding towards the bend of the hook with each turn of hackle, then wrap 1 turn forward with thread through the hackle to the hook eye, where you then make a small head with a 3-turn whip finish. Snip off the excess bit of hackle quill and you are done. Couldn’t be easier!
This fly is actually my favorite dry fly as well! I often cast it upstream to rising fish taking emerging insects, sometime smearing a bit of floatant on the fly. This method has been very effective for me in taking some not so easily fooled trout on Yellowstone National Park’s Slough Creek.
Another fly that has become a favorite of mine is the Royal Wulff cripple dry fly. Photos of this fly can easily be found on the Internet as well as tying instructions. I will just simply say that it is easy to tie, looks buggy, floats well, is easily seen by the fisherman, and catches fish! Give me just one fly to use on a mountain trout stream, and this one is it!
My approach to tying is to keep it simple. I rarely use more than 3-4 materials on a fly, including the thread, and keep thread wraps to a minimum. If a fly takes more time to tie than a few minutes, I will look for a simpler pattern. I’m a firm believer in “less is often more”, and more materials don’t necessarily mean a better or more effective fly. Most of the flies I tie are going to have a definite purpose and place in my fly box. I don’t think it takes a highly engineered fly, or a work of art, to usually fool the fish.
Most of my fly tying takes place during the deep of winter when I begin dreaming of the next season’s fishing to come. There is nothing better to lift the spirit than sitting down at my tying desk with bobbin in hand and dreams of catching wild trout in my head.
 Chuck Sams has just announced the latest issue of The Cedar Sweeper magazine is available. The Cedar Sweeper is a Michigan fly fishing print magazine with a lot of flavor!
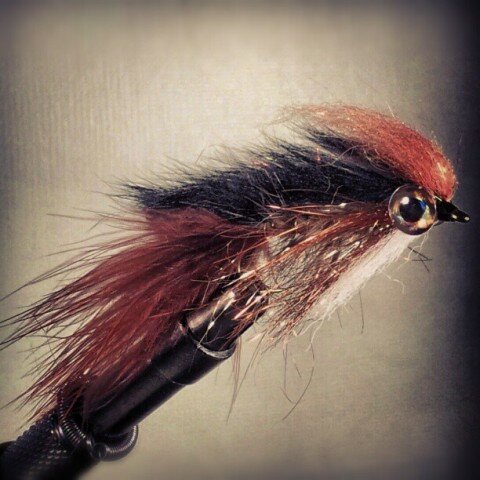
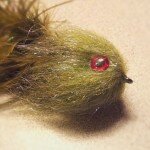
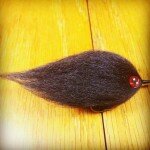
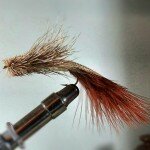
 Al and Gretchen Beatty have opened a new blog named Fly-Tying Ideas Exchange (F-TIE). “A dawn of fly-tying ideas with Gretchen and Al Beatty.”
 Curtis Fry, who hails from Eastern Oregon originally, grew up fishing the high mountain lakes, arid high desert lakes and streams as well as the impoundments of the Snake River along the Oregon-Idaho border. He became interested in tying flies in high school and actually tied his first flies, mosquitoes and black ants, before he even owned a fly rod as a means of fooling picky Brook Trout in a nearby alpine lake. After a move to Utah in the early 90’s, Curtis worked his way through college tying flies, guiding and working for local fly shops.
 Curtis indicates “The Double “D” Mating Damsel is a pattern he developed to handle some finicky trout on a few high mountain lakes that had a penchant for feeding on adult damsels. The pattern has proven to be effective before, during and after damsel fly activity. In many cases, the fish are so aggressive that they’ll torpedo out of the water to eat the insects in mid-air. Most often, these aerobatic hits are targeting the “two-fer” special whilst the two insects are engaged in activities other than looking out for hungry trout.
 Tom Park is originally from Montana, but now resides in Indiana. A life changing experience teaching English in Japan inspired him to begin fly tying. You might notice some Hans Weilenmann influence in his flies. With good reason, Tom has spent a fair amount of time admiring Hans’ fly tying and has enjoyed the Flymph Forum in the past. I encourage you to visit
  Soft hackle flies are a great fly for beginners to start fly tying with. Not only are they one of the easiest patterns to tie, they are very effective to fish! The materials are usually quite minimal, often consisting of just a turn or two of hackle, and the tying thread. I enjoy using a very traditional material, Pearsall’s Gossamer silk tying thread, which comes in many colors, to tie most of my soft hackles. I like the sheen it has, the change in color when wet, and how it can be used as body material on very sparsely tied flies. It doesn’t have much bulk which allows me to make a small head on the fly. The only downside, if there is such a thing for this thread, is that the tier will need a midge size bobbin holder to hold the thread bobbin. These are not very difficult to find nowadays, although the thread itself may not be found in all fly shops, but can easily be found and ordered online.