Monthly Archives: February 2013

From the Dregs – Shawn Britton

Dregs

From the Dregs

Style -Intruder

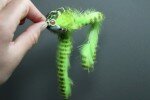
This Fly was from the Dregs of the tying waste basket…Hence the
name… So I this it is truly fit to be a “FrankenFly”

 
Hook: Gamakatsu B10 stinger #4
Trailer/Stinger: Gamakatsu Octopus #6
Trailer Hook Feathers: Golden Yellow & Blue dyed mallard
Trailer Wire: 30lb Fireline Braid
Thread: Black Monocord
Body: Lime Green Chenille
Built Up Underbody: Green EP Foxy Brush
Wings/Feather: Two or Three Emu Feathers,
Three stripped to the tip, golden yellow hackles leaving a full stem to tie in
as you would a hackle.
Cheeks:  two short golden yellow saddles topped with jungle cock
Accent Flash: Sparse amount of red and silver Krystal Flash
First Collar: Blue Dyed Mallard
Finish Collar: Blue Spey Hackle


shawn tying at storeShawn F. Britton:  I am just another angler and fly tier who has let his love of the outdoors consume his life. A published artist and freelance writer, and well know East Coast fly tier. My feet have been wet somewhere in the woods and waters since my birth and I know my rivers and streams like the back of my hand.  My business, Flies by Britton, is located in Torrington Connecticut, just minutes from two of New England’s premier Trout fisheries – The Farmington River and The Housatonic River. This is the original home of Custom Fly Tying, home base for my fly tying classes, fly shop, and close to the waters where I grew up fishing – the perfect waters in which to offer my instruction and guided trips for Fly Fishing. I also enjoy fishing and guiding on the smaller streams. You’ll find me just the same on many of the local lakes and ponds. Whether it’s from a canoes, pontoons or float tubes – I’ll be fishing for Trout, Bass, Pike and any other species of fish that will hit the end of my line.

Shawn is on the Flymen Fishing Company & Regal vise Pro Staff and a few more. He uses his Bulldog vise to any fly, from Catskill Flies to Crawfish & Hellgrammites, Spey & Dee to Salmon & Steelhead, etc.. Like many of us his approach to fly tying is not limited, nor is it one dimensional.
See you at the shows and maybe we’ll meet on the water.

Shawn is a Longtime Board member and the Newsletter/Web Editor for The Farmington River Anglers Association – www.fraa.org

Tightlines’ Shawn

Feel free to contact me or stop by the shop and say hello.
www.fliesbybritton.com

Comments Off on From the Dregs – Shawn Britton

Filed under Steelhead

Doug Stout items

This is a continuation of the post from the other day of Doug Stout’s awesome work! If you have any interest of wanting something created by Doug, please contact him at the below information and inquire.

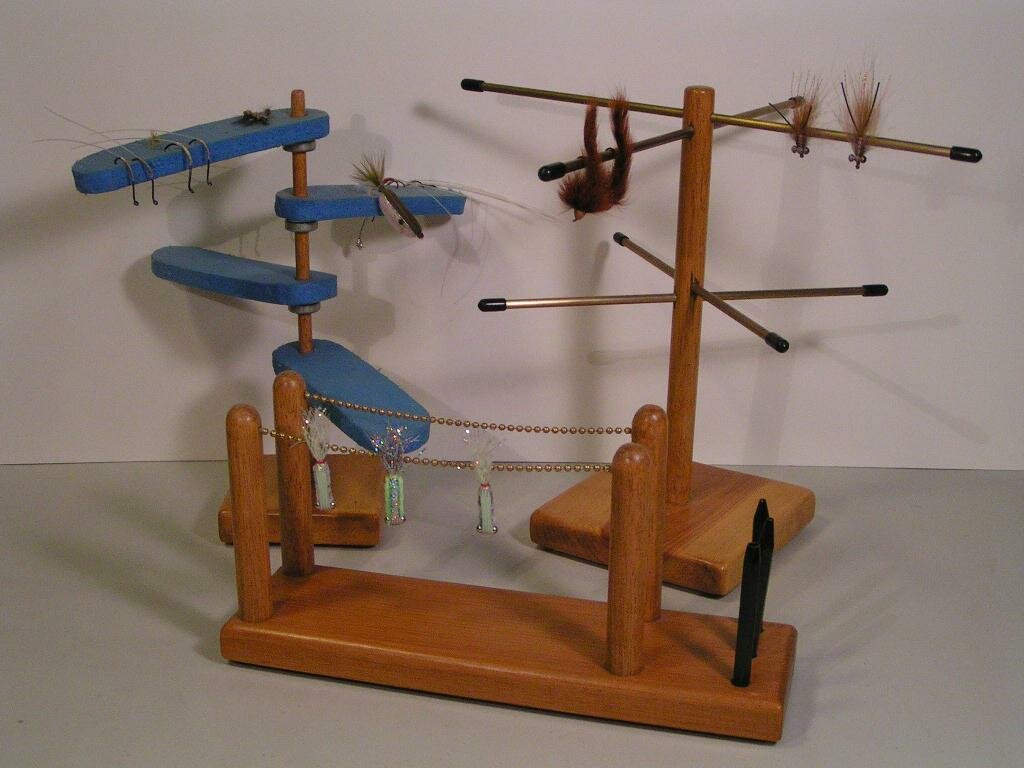
Doug sells granite bases for your fly tying vise in various colors and each base is unique. Please contact Doug for pricing. They are reasonable prices.


Doug has custom fly boxes he makes. Doug has placed the slits in the foam in a way so the flies will hang straight when the box is carried or hung up.

Large fly box – $32.95 – 10″ x 14″ and 3.5″ deep
Small fly box – $31.95 – 10.5″ x 8″ and 3″ deep


Fly rotators

AC power, 5rpm motor, steel powder coated, stainless steel, in-line cord switch

9″ tall, 4.5″ wide
wheel is 5″ in diameter 1.5″ thick

They come in white or black as pictured
$48.95

6 Comments

Filed under Tools

Doug Stout

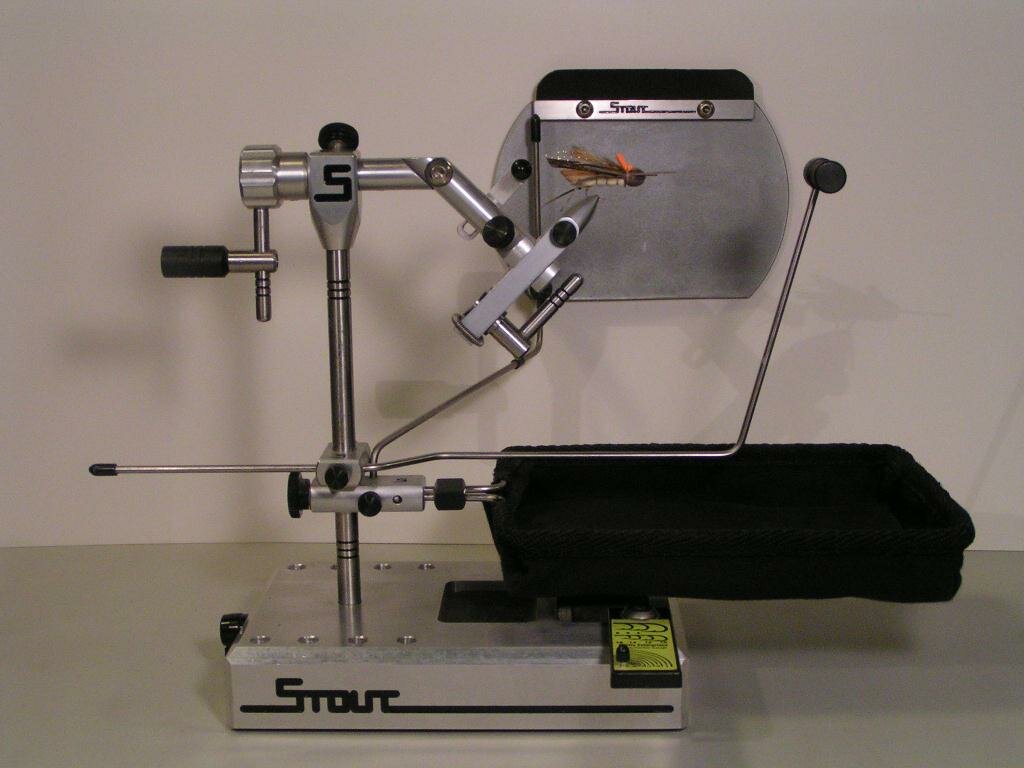
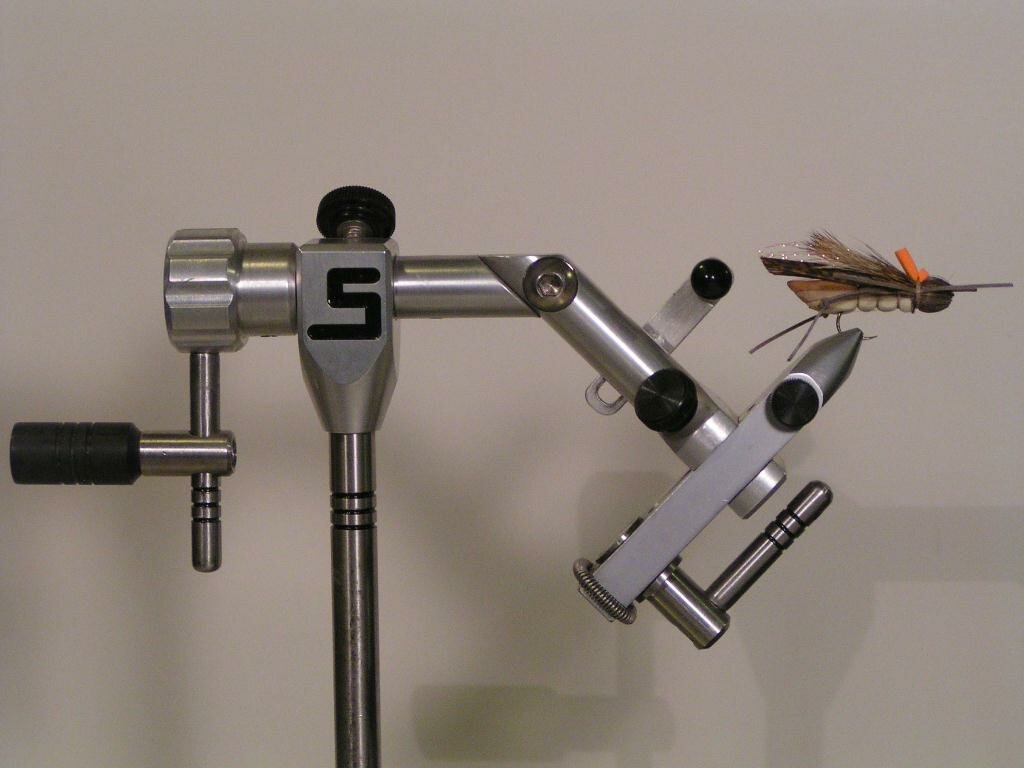
Doug Stout is not only a fly tyer, but one heck of a tool and vise smith. He makes his tools, vises, fly rotators, bases, and fly boxes. You can see for yourself in the pictures below of some of Doug’s handy work. I fell in love with some of the stuff he has created and you just might too!

First up, is Doug’s main fly tying vise. Doug explains, “Body like an Abel, jaws like a Mongoose. All 6061 Aluminum, and stainless steel. The jaws are D-2 tool steel hardened to 56-58 Rockwell, then peen blasted, hard chromed, peen blasted again, and chromed again. Industrial chrome not bumper chrome. Hard as hell. Never rust.
The halogen light, magnifier, are made by me ,as is all parts you see.
All made on a hand controlled mill, not cnc. All engravings are done on mill and filled with black enamel.”

Stout main vise

Stout main vise

Stout main vise

In this pic notice the jaws are in the “Clouser position”. Notice the counterbalance weight. Buy the way it is equipped with stainless steel high speed ball bearings. With the counterbalance weight it will spin.
Note: Design credits need to go to Abel and Griffin. I just put them together. All parts I drew in AUTO Cad. and made my self. None of the parts are from manufacturer vises.


Stout main vise


This is a 3/4 scale LAW copy I made. Main design credits go to Lawence A. Waldren creator of the LAW vise. Modifications I made are, The bearings are high speed stainless steel ball bearings in a brass housing, not delrin. The jaws are 440C stainless hardened to 56-58 Rockwell, not A-7 or D-2 like on a LAW. Mine will never rust. Vise is made of stainless steel and brass. Delrin used for the drag washers and bobbin rest. Base is solid walnut. So is the handle on the vise and the shroud over the brass bearing housing. Hope you like it. Again this is 3/4 scale. Nice for small flies.


Stout 34 scale

Stout 34 scale


This is the full scale Law vise I made. Main design credits go to Lawerance A Waldren creator of the LAW vise. Modifications I made, stainless steel ball bearings in brass housing, not delrin. The jaws are 44oc stainless hardened to 56-58 Rockwell not toll steel. Also note the jaws are cam not screw tightening. Cool HUH!! Counterbalance weight, and granite base. Vise is all stainless and brass. Never rust. Once again all parts made by me on hand controlled mill. Not CNC.
Walnut on the bearing housing and handle on vise.


Stout Law vise

Stout Law vise

This is The Nor-vise I made. Main design credits go to Norm Norland creator of the Nor-Vise. Vise is shown with trash catcher, back drop, dubbing brush attachment, and in front are large jaw option. The base is black granite. All parts are stainless steel or brass. Jaws are 440c stainless hardened to 56-58 Rockwell. All parts made by me on hand control mill. Not CNC. Not in the picture are the C-clamps option. I forgot them. All engravings are filled with black enamel.


Stout Nor Vise


Stout Nor Vise


This is the portable travel kit vise I made. Main design credits go to Lawerance A Waldren creator of this vise. Modification I made are the box has a complete set of tools all made of brass, stainless and some copper in the lid. Brass hair stacker with copper lid. All tools except the bobbin and scissors I hand made. The clips on the rotary hackle pliers are from another tool. This vise has a bobbin rest unlike the original and the jaws are stainless steel not D-2 or S-7. mine never rust. And believe me they are hard. All parts are made of stainless, brass and copper. This took a long time to do. The box is made from a solid piece of walnut that was split to create the bottom and the lid. So when closed the grain lines up. The box was I think the hardest thing I have ever made. All on a hand controlled mill. Not CNC. Box is 7 1/2″ wide x 4″ deep x 1 1/2″ tall when closed. There is a stainless steel plate on the bottom to give the base weight for stability built into the walnut.


Stout travel kit


Stout travel kit


Stout travel kit


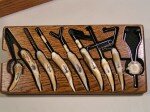
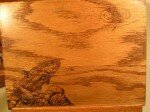
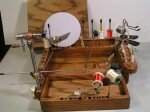
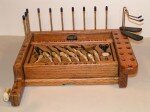
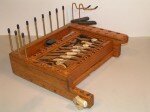
This is the portable fly tying station I made. It comes with head cement compartment, Tool holders, fly dryer stations, etc. Made of oak and brass. The lid has a wood burned trout spying a nymph fly hitting the water. I did it myself. I got the picture of the internet. I would give props to the photographer but I don’t know the name. Sorry. The handle on the lid is deer antler with an Adams fly engraved in it. The vise clamp knob is the fork of a deer antler with a elk hair caddis engraved in it. The tools are all made of deer antler. Most have a half-hitch tool on the ends. The bobbin is a griffin. I only added the deer antler. All tools have a different fly engraved into the handle. Did it with a metal scribe and a magnifying glass. I went a little overboard on this one. What the heck. The vise in the pic I made my self. See my post “Vises I Made” for details.


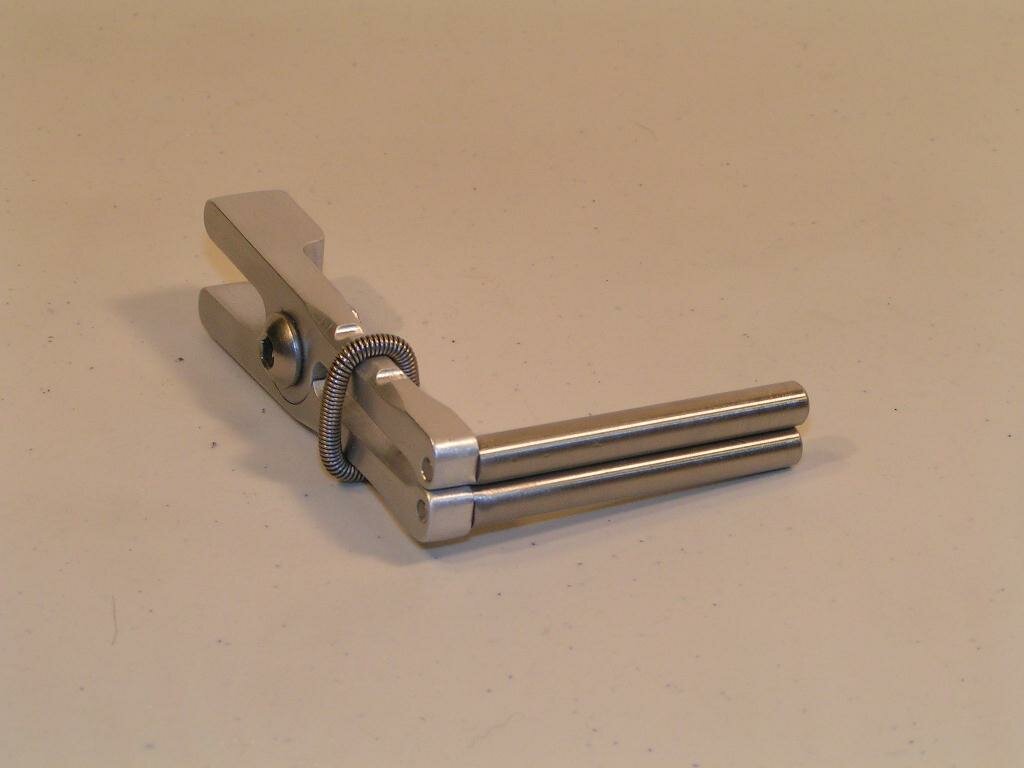
These are some other things I made. Design credits go to, Vossler for the Vossler tool, Oasis for some the wood stuff, and Pat Cohen for the fugley hair packer. I made my packer out of stainless not mild steel. Note: That is a rite bobbin by the fugly packer. I did not make it. I only put it in the picture for scale. I only made the packer.


Vossler tool

stout wood

stout wood

stout wood

stout tools

Doug’s other stuff will be posted in another post. The items in the next post are items he normally sells, so stay tuned for that.

30 Comments

Filed under Uncategorized

Adams Nymph

adamsnymph1

I know many of you out there are going, “Adams Nymph, I thought Adams was a dry fly?” That’s right, it is a dry fly and one of the best ever. Read more about the original Adams and watch Brian Kosminski tie it in a previous post.

Now, where was I…so this idea was from one of the best tyers I know, Don Bastian. He tied and posted on his blog an Adams Wet Fly that he had seen when he was a kid in a sporting goods store. In the comments of that post Don mentions to another reader that an Adams Nymph would be a good idea and may be an effective pattern. So after reading that I emailed Don right away and told him I would like to tie the pattern. We discussed it back and forth in a few emails and with Don’s guidance this is what I came up with. Now whether it will be a real trout catcher is yet to be tested, but I bet it will!

I love nymphs and I felt blessed to work with Don on this pattern. I plan to test the Adams Nymph this season on some trout. I’ll be sure to report back. If you would like to try it yourself, here is the recipe.

Hook: Mustad 3906B – this is a size 12 – (14,16 would work well too)
Body: Hareline Dubbin Adam’s Gray
Rib: Ultra Wire silver – Brassie size
Tail: brown and grizzly hackle fibers
Wing: grizzly hackle fibers
Wing Case: Goose Quill dyed gray – (used Clear Cure Goo to make quill stronger)
Thread: gray

4 Comments

Filed under nymphs

Deer hair extended body – Fred Hannie

Fred is a very skilled realistic fly tyer who ties some really cool looking bugs! Fred helped me in the beginning of FrankenFly with his Paper Wasp. He now shows us a nice technique for extended body flies, using deer hair. You can see more of Fred’s realistic flies over at his website.

Deer hair is a great material for dry fly construction. The hollow hairs will aid the fly’s buoyancy .The technique I will show you here is one that was taught to me by my friend and fellow tier David Martin. This technique also works well for mayfly abdomens.


Place a section of 6lb mono in the vise. The mono should be longer than you want the finished abdomen to be. From the vise jaws measure and cut the mono to the size needed for the extended body abdomen. Tie on about ten deer hairs wrapping them to the mono with loose thread wraps.

Wrap to the end of the monofilament and back to the vise.

Fold the remaining deer hair back over the abdomen and cover all the deer hair with smooth thread wraps. By allowing the thread wraps to build up in precise areas you can accentuate segmentation.

Use the excess to help form the thorax of the damselfly. With markers you can now color the white thread to match any hatch.

2 Comments

Filed under Realistic

Wedding Veil video – Brian Wise

The video guru Brian Wise of Fly Fishing the Ozarks has released a new fly tying video and has moved to a new series of flies. Brian has started tying Thomas Harvey’s flies and his first is the Wedding Veil. In case you missed it, FrankenFly has interviewed both of these fly tyers. Check out Brian Wise’s interview and Thomas Harvey’s interview for more information. Now sit back and enjoy fly tying goodness with Brian Wise!

5 Comments

Filed under Brian Wise

Nick Granato interview!

IMG_2083 - Version 2Do you take a vise with you wherever you go?

Honestly if I can avoid hauling one with me on a trip I will. Usually I tie so much before a trip it’s not usually needed. Plus picking out what materials to take gives me anxiety.

How often do you dream of flies?

Way more than a grown man with a wife and career should.

Is there still a Sasquatch in your fly box at all times?

Without a doubt. Especially a fluorescent white size one and a smaller baby brown trout scheme. I’m pretty sure that with those two I can make it happen more times than not.


Sasquatch

Sasquatch


How would you design a FrankenFly pattern?

Usually after a few glasses of whiskey at the vise it gets pretty FrankenFly around my desk. Lots of mishmashing of materials and patterns after a few cocktails…

Do you keep a journal to chronicle your fly tying experiences?

No but pictures help a lot, I take a lot of pictures of flies, especially one offs, I tie TONS of one offs.

If fish could talk, what do you think they would say about fly fishermen?

Before or after they called us sissies? Probably that we take things to serious and over think everything multiple times. They’d also more than likely say ”Are you done taking pictures of me? No I’m not even close to 24”. Can I go back in the water now!?!”

Toadally Amphibious Frog

Toadally Amphibious Frog

How do you decide on a name for the flies you design?

Naming flies comes about in multiple ways I don’t really have a set method. Sometimes I have the name before I even have a pattern, like the Shuck Norris. I had the name pop into my head before I knew what fly I’d pair it with, conveniently I was finishing up some R & D on a emerger pattern with a trailing shuck, Bingo. Others like the Chubby Muffin Sculpin, Disco Lemonade and Sasquatch have come well after the pattern was tied and became worthy of a name… Quite often it’s friends that help come up with names while bantering and fishing. Fishing in a boat with two good friends all day is a good start to a good name.

What are the waters and conditions like in Salt Lake City?

It is extremely diverse in waters, conditions and fish. Within 2 hours of my house I can fish for Wipers, Largemouth, Smallmouth, Walleye, Tiger Musky, Pike, various pan fish, several different Cutthroat species, hybrid trout/char like Tiger Trout and Splake and of coarse browns and rainbows for days. Utah doesn’t have a ton of certain fisheries (especially warmwater) like some states but the ones we do have are pretty quality. Like most western states we dam everything possible for water conservation, which means you better educate yourself on reservoirs if you want to take advantage of what the state has to offer. I can also in a few hours be in Idaho, Wyoming, Colorado, Nevada and Montana… I couldn’t think of living anywhere else and I’ve traveled a good amount to various places fishing. Not bad for a dry desert state ehhh?


Hydro Stone

Hydro Stone

What is the weirdest material you have ever used on a fly?

Hmmmmm weirdest?… I’ve got about 10lbs of Portuguese Water Dog that’s begging to be used. It’s jet black, about 8-10” long and similar to Icelandic sheep but more like our natural hair. I know lots of people tie with their dogs hair but this shits prime! And the groomer thought I was a total whack job asking for his hair back after he got shaved. So probably that or the thick sticking packaging glue rolled into larva.

Do you buy fly boxes or make them yourself? What works best for your streamers?

I’ve made several Bugger Beast style boxes before but considering I have 12 bugger barns, 8 bugger beast Jr’s, 6 bugger beasts and 4 larger homemade jobbers I mostly just buy them these days. I really do like the Cliff products, between the bugger barn and the beasts I’m pretty covered. But there are some new great boxes out there I’d like to try out.
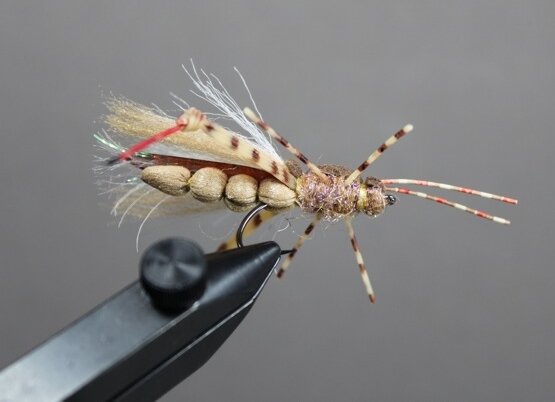
 

Dennis Hopper

Dennis Hopper

I know you enjoy streamers, but what are some of your favorite dry flies?

I LOVE fishing attractor dries and the bigger the better. I’ve got a great hopper pattern that will probably wear the name Dennis Hopper thats been a staple of mine for several years. From June all the way to the end of October I’ve got some of those on me at all times. One pattern that I’ll fish just about anywhere at anytime even if they don’t have any naturals around is the Chubby Muffin Cicada, it’s just a great all around attractor and it’s unique. It’s always a good idea to show them something fresh.

Any plans to design another dropper to rival the Shuck Norris?

No ”plans” as of now but I’d like to think thats not the only noteworthy dropper I come up with. I do have a softhackle dropper called the “Honey Nooner” that’s just about dialed in…


ShuckNorris

Shuck Norris


If you had a chance to become a superhero, what powers would you choose?

I’m a huge Spiderman fan so that’s pretty easy, but if I could I’d also take Superman’s x-ray vision.

What’s next for Nick Granato?

Sorry to be lackluster with my response, but more of the same. Fish and tie as much as possible and share the patterns and techniques that I find noteworthy with likeminded people. Joining up with Matt Grajewski on the FlyObsession.com blog has been better than I could hope for and I’m looking forward to seeing where it takes us. I personally find a real problem with the lack of actual fishing and tying substance in the fly fishing industry… Lots of people tweaking and regurgitating the same stuff several other people are, and often all at the same time. Now someone tell me why there needs to be several different blogs all posting the exact SAME content? Fresh and noteworthy substance is going to be my theme for 2013.

5 Comments

Filed under Interview

Emerald Evil Twin – Michael Decoteau

MikeDecoteau


You will see a lot of classic flavor in Michael Decoteau’s flies. He grew up on the coast of Maine and studied classic featherwing streamers early on in his fly tying experience. Michael is now a guide for Greg Senyo’s Steelhead Alley Outfitters and spends the rest of his time with his own fly tying business, RedSpotFly, where he ties custom flies and creates art. He was gracious enough to send me this fresh step-by-step of his Evil Twin Brother fly. Below is Michael’s step-by-step. He says:

“I am often asked to share material lists and step by steps for certain color combinations of flies that I offer through RedSpotFly.  Here is the detailed step by step for the most highly requested color combo of the Evil Twin…emerald.  I have also included a few little helpful hints that were not shown on the original step by step for the purple Evil Twin that can be seen on the Steelhead Alley Tying Blog.”

Materials

Shank: 25mm Senyo Shank from Flymen Fishing Co.
Thread: 6/0 White Uni-Thread, then 8/0 Pink Uni-Thread at the head
Wire: Senyo’s standard Intruder Wire from Hareline
Hook: Your favorite size 4 stinger
Tag: UV Hot Pink Ice Dub
Body: Flat Pearl Diamond Braid
Rib: Chartreuse Ultra Wire size BR
Body Hackle: Guinea Hen dyed Kingfisher Blue
Wing: White Arctic Fox, then Olive Icelandic Sheep, then Kingfisher Blue Cashmere Goat
Flash: Green Pearl Polar Flash
Topping: Kingfisher Blue Lady Amherst Center Tail fibers, then Natural Lady Amherst Center Tail fibers
Collar: Blue Eared Pheasant
Cheeks: Jungle Cock

Step 1: Insert the shank into the jaws of your vise, and lash down the rear loop of the shank with the 6/0 white Uni-Thread.

Step 2: Cut a piece of Intruder wire 2 ½” long, and fasten on both sides of the shank creating a loop in the rear that is just long enough to fit your stinger hook through. The tag ends should extend almost to the end of the return eye wire as seen above.

Step 3: Double the tag ends of the Intruder wire backwards toward the rear of the shank and bind down securely. I add a drop of Zap-A-Gap over this connection point.

Step 4: Dub a ball of UV Hot Pink Ice Dub over the connection point.

Step 5: Tie in the flat Pearl Diamond Braid and the chartreuse Ultra Wire and advance the thread to the halfway point between the dubbing ball and the return eye wire of the shank.

Step 6: Make two wraps of Diamond Braid, then secure with your thread, leaving the tag end long (you will make two more wraps of Diamond Braid in the next step). Tie in the kingfisher blue Guinea Hen feather at this time by the tip, convex (or outside) side of the feather facing up. Trim the tip of the feather off after tying it in.

Step 7: Make two wraps of the Diamond Braid. At this point, you should be wrapping on the return eye wire by just a few thread wraps (we need to allow room for the front collar).  Palmer the Guinea forward and tie off. Reverse wrap the Ultra Wire forward to secure the body hackle and tie off.

Step 8: Cut a small bunch of white Arctic Fox tail hairs and tie in as shown above. The tail rounds offered by Hareline Dubbin have hairs long enough for this fly.

Step 9: Cut and hand stack a small bunch of olive Icelandic Sheep hair and tie in as shown above. Be sure to leave some of the bare shank exposed ahead of this tie in point. Switch to the 8/0 pink Uni-Thread at this time.

Step 10:  Cut a small bunch of the Cashmere Goat hair and hand stack. Keep the underfur as well as the long silky strands. Tie these in on top of the Icelandic Sheep. Next, take 3-4 strands of Polar flash and tie them in at the 10:00 position so that half of the material extends toward the rear of the fly, and the other half extends beyond the eye. Fold the Polar flash that is extending beyond the eye backwards on the other side of the fly at the 2:00 position.

Step 11:  Select 6 kingfisher blue Lady Amherst tail fibers, and separate them into a pair of 3 fibers a piece. Tie these in at the 10:00 and 2:00 positions on the shank. Next, select 4 natural (white) Lady Amherst tail fibers and separate them into a pair of 2 fibers a piece. Tie these in side by side on top of the shank.

Step 12:  Tie in one or two Blue-Eared Pheasant feathers by the tips for the front collar. Wrap these forward while stroking the fibers backward to create a nice sweep to the collar. Tie off and clip the butt end of the quill.

Step 13: Tie in Jungle Cock cheeks on both sides of the fly. Leave the butt ends long on these feathers and fold back and tie over them (as we did with the connecting wire at the beginning of the fly). Clip the butt ends and whip finish. For connecting the stinger, pinch the Intruder wire, and force the doubled up wire through the eye of the stinger. Slide the hook down to the shank, and push the shank of the hook through the Intruder wire loop. Slide the hook back and you are ready to fish.

4 Comments

Filed under Steelhead, Step by Step