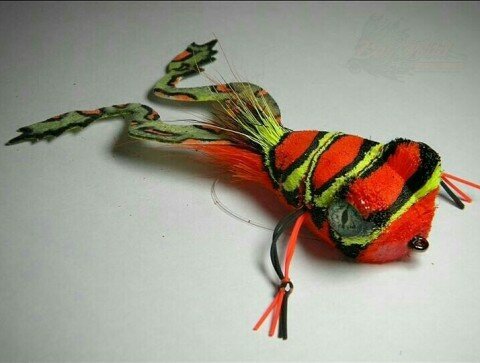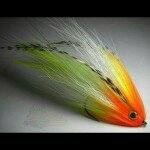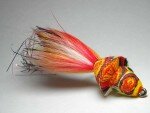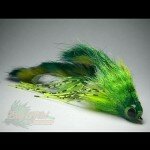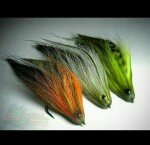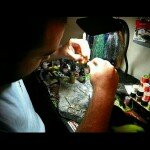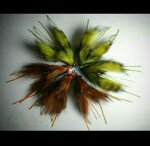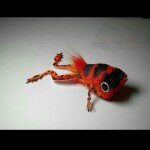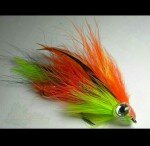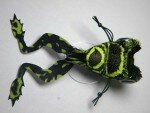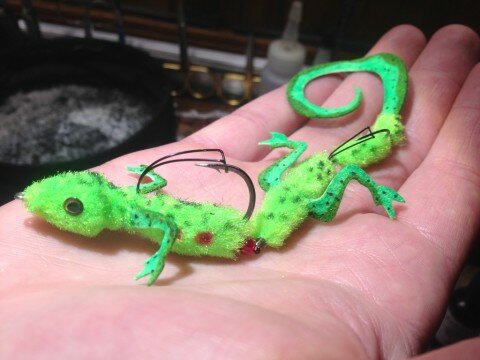
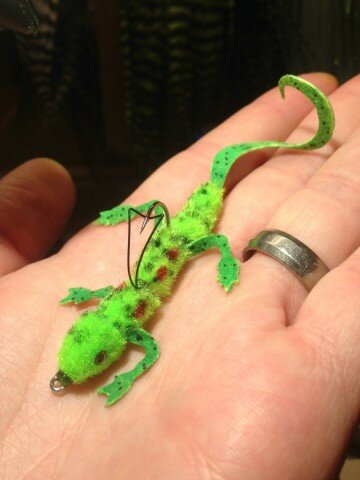
“As a recent convert to fly fishing, over the past couple of years, I have really enjoyed trying to adapt some of my favorite conventional gear lures to the fly. One of my favorite plastics when using gear was a Carolina-rigged 6in zoom lizard. The ‘Faithful Lizard’ was created to mimic the plastic zoom lizard. The front-forward channel lead weighting system on the fly ensures that it will sink head first, to realize the full action of the rear segments and flutter tail. The weighting system also allows it to ride hook up when being moved across the bottom and the built in weed guards help to prevent snagging on debris. The pattern can be adapted to a number of different colors (olive, black, orange, etc.) to match the natural colors of the newts that bass in your area may be targeting.”
Materials:
Small Lizard
(3.5in. length)
Cohen’s Attractor Tail
1-(Small)
Cohen’s Creatures Frog Legs
2-(Small)
Hareline Chocklett’s Body Wrap (Any color – olive, chartreuse, organge, purple, black)
OR Orvis CCT Body Fur (not as dense as the Hareline Wrap)
Fish Skull Articulated Fish Spine Shanks
1-10mm, 1-15mm, 1-25mm (shank lengths can be adjusted on preference)
Gamakatsu Finesse W.G. Weedless Hook
1-Size 1 (St#230910) OR 1-Size 2 (St#230909)
Cascade Crest Tools Channel Lead
(Medium)
Senyo Intruder Wire
Size Small, color black
Small Glass Beads (3mm)
1-Red
Fish Skull Living Eyes
2-3mm
6/0 Thread of Preference
Color to match body wrap
Large Lizard
(6.5in. length)
Cohen’s Attractor Tail
1-(Medium)
Cohen’s Creatures Frog Legs
2-(Medium)
Hareline Chocklett’s Body Wrap (Any color – olive, chartreuse, organge, purple, black)
OR Orvis CCT Body Fur (not as dense as the Hareline Wrap)
Fish Skull Articulated Fish Spine Shanks
1-10mm, 1-15mm, 1-20mm, 1-25mm (shank lengths can be adjusted)
Trailer – Gamakatsu Finesse W.G. Weedless Hook
1-Size 2 (St#230909)
Front – Gamakatsu Finesse W.G. Weedless Hook
1-Size 3/0 (St#230913) OR 1-Size 2/0 (St#230912)
Cascade Crest Tools Channel Lead
(Large)
Senyo Intruder Wire
Size Large, color black
Small Glass Beads (3mm)
2-Red
Fish Skull Living Eyes
2-4mm
6/0 Thread of Preference
Color to match body wrap
Small Lizard tying instructions:
1. Secure the large loop of a 10mm shank in the vise. Lay thread base down closing open ends of the shank. Secure tail, via its tab, to small loop of shank (opposite to end being held in vise). Ensure that tail is secured straight and apply zap-a-gap.
2. Tie in body wrap at the end of the shank where the tail is secured. Advance thread to the end of the shank being held by the vise. Palmer the body wrap toward the vise, covering the entire shank. Secure with thread wraps and whip finish. For durability use UV epoxy over securing thread.
3. Trim the body wrap to a small tapered cone, with the tip of the cone meeting the base of the tail. Don’t over trim at this stage as the whole fly will be tapered properly at the final step.
4. Attach the 15mm shank. Secure the shank in the vise and lay thread base down closing open ends of the shank. Tie in body wrap at the end of the shank. Advance thread forward to the end of the shank. Palmer the body wrap forward, covering the entire shank. Secure with thread wraps and whip finish. For durability use UV epoxy over securing thread. Trim the body wrap to smoothly transition the taper into the tail section.
5. Place intruder wire through tail section and run both ends back through small glass bead. Secure intruder wire to shank of hook using thread wraps and finish with zap-a-gap.
6. Secure the frog legs about an 1/8in. up from the hook bend on top of the hook shank. Tie in body wrap and palmer forward being sure to figure-eight the material between the frog leg tie-in points to minimize gaps in the body wrap. Secure the wrap as in previous steps and trim to rough shape. Take care not to accidentally cut off the frog legs when trimming the body wrap.
7. Attach the 25mm shank to the hook and close shank openings with thread wraps as in previous steps. Cut a piece of channel lead approximately 20mm in length and center on shank. Secure to underside of shank with thread wraps and finish with zap-a-gap. This piece of lead will act as a keel for the underside of the entire fly and is critical to the fly swimming correctly.
8. Secure the other pair of frog legs about half way on the top side of the shank, the opposite side of the channel lead. Ensure that legs are short enough to prevent fouling the weed guard on the hook.
9. Secure the body wrap to the rear of the shank and palmer forward, figure-eighting between the frog legs. Secure with thread wraps and finish as in previous steps. See notes section for specific details on trimming the head section.
10. Trim the fly to final shape after trimming the rough shape of the head section. Markers can be used to color the lizard to match natural forage or add additional attraction marks.
Large Lizard tying instructions:
1. Secure the large loop of a 10mm shank in the vise. Lay thread base down closing open ends of the shank. Secure tail, via its tab, to small loop of shank (opposite to end being held in vise). Ensure that tail is secured straight and apply zap-a-gap.
2. Tie in body wrap at the end of the shank where the tail is secured. Advance thread to the end of the shank being held by the vise. Palmer the body wrap toward the vise, covering the entire shank. Secure with thread wraps and whip finish. For durability use UV epoxy over securing thread.
3. Trim the body wrap to a small tapered cone, with the tip of the cone meeting the base of the tail. Don’t over trim at this stage as the whole fly will be tapered properly at the final step.
4. Place intruder wire through 15mm shank and run both ends back through small glass bead. Secure intruder wire to shank of size 2 hook using thread wraps and finish with zap-a-gap.
5. Tie in body wrap and palmer forward Secure the wrap as in previous steps and trim to rough shape.
6. Attach the 15mm shank to the hook. Secure the shank in the vise and lay thread base down closing open ends of the shank. Tie in body wrap at the end of the shank. Advance thread forward to the front of the shank. Palmer the body wrap forward, covering the entire shank. Secure with thread wraps and whip finish. For durability use UV epoxy over securing thread. Trim the body wrap to smoothly transition the taper into the tail section.
7. Secure rear portion of fly to a 20mm shank. Secure the frog legs about an 1/8in. from the rear of the shank. Secure the body wrap at the rear of the shank and advance thread forward to front of shank. Palmer body wrap forward figure-eighting the wrap between the legs. Secure wrap and trim section to shape. Take care not to accidentally cut off the frog legs when trimming the body wrap.
8. Place intruder wire through 20mm shank and run both ends back through two small glass beads. Secure intruder wire to shank of 3/0 hook using thread wraps and finish with zap-a-gap. Cut a piece of channel lead approximately 8-10mm in length and center on hook. Be sure to leave a sufficient gap between the hook eye and the channel lead to allow for proper functioning of the nylon weed guard. Secure to underside of shank with thread wraps and finish with zap-a-gap. This piece of lead will act as a keel for the underside of the fly, and in addition to the front section keel, is critical to the fly swimming correctly.
9. Attach the 25mm shank to the hook and close shank openings with thread wraps as in previous steps. Cut a piece of channel lead approximately 20mm in length and center on shank. Secure to underside of shank with thread wraps and finish with zap-a-gap. This piece of lead, in conjunction with the hook weighting, will act as a keel for the underside of the entire fly and is critical to the fly swimming correctly.
10. Secure the other pair of frog legs about a third of the way up from the rear, on the top side of the shank, the opposite side of the channel lead. Ensure that legs are short enough to prevent fouling the weed guard on the hook.
11. Secure the body wrap to the rear of the shank and palmer forward, figure-eighting between the frog legs. Secure with thread wraps and finish as in previous steps. See notes section for specific details on trimming the head section.
12. Trim the fly to final shape after trimming the rough shape of the head section. Markers can be used to color the lizard to match natural forage or add additional attraction marks.
Notes:
Color the Cohen’s creature tails and legs before starting the fly.
Steps 1 and 2 in each recipe actually necessitate the tier advance thread and secure materials working toward the vise. This is opposite of the traditional tying direction in which materials are tied in and the thread is advanced away from the vise.
Traditional hooks can be replaced in the pattern, and the nylon weed guard substituted with a stiff mono weed guard tied into the hook.
The front and rear legs are tied in at opposite directions. The feet can be trimmed to look like a newt or left intact.
When palmering body wrap be mindful of the material’s directionality and wrap so that it tapers rearward.
After cutting channel lead use a file to smooth edges and to angle the cut ends; smoothing the transition to the hook shank. This angle will allow for the body wrap to be palmered more easily.
When cutting body wrap for head section work slowly from the rear and cut to match the body shape. When shaping the head of the lizard try to create a cone shape with the tip of the cone at the nose of the lizard. Cut at an angle to shape the head being sure to leave more body wrap than what is on the body of the fly to create a larger head shape. Ideally, the taper of the head should meet the body at the front set of legs.
Jon can be contacted via Instagram @ontheriseflyfishing.


