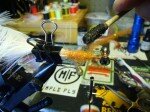
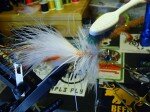
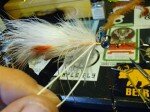
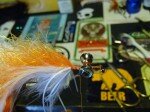
List of Materials Needed
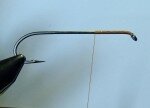
Dai-Riki #700 size 2 or any 4x long streamer hook
UTC 140 Thread Burnt Orange
¼ Dumbell eyes
¼ Clear Cure Eyes Peacock
Clear Cure Goo Hydro / curing light
Orvis New Age Holo Flash Amber Stone
White Marabou
Hareline UV Ice Dub Orange
Hareline Magnum Rabbit Strip Barred Orange over White
White Rubber Legs
White Schlappen
EP 1” Tarantula Fiber Brush Tequila Sunrise
- Start thread at eye and wrap back approximately 1/3 the length of the hook shank. Next wrap back to the front leaving about the width of the dumbbell eye away from the hook eye.
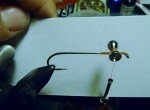
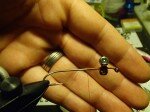
- Figure 8 wrap around the dumbbell to secure it firmly and squarely to the hook shank.
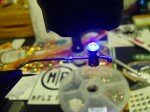
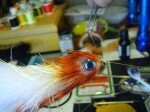
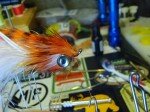
- 4. Apply Clear Cure Goo Hydro in the center on both sides to make a rock solid connection, then cure with light. 5. Next rotate to where dumbbell is flat apply more Hydro and attach a Peacock Clear Cure Eye then cure with light, repeat on opposite side.
- Wrap thread to back of hook stopping where the thread is even with the point of the hook. Select about a dozen pieces from the Orvis New Age Holo Flash. Tie it in at the middle by wrapping towards the bend of the hook about 5-6 wraps.
- Fold the flash backwards and tie in returning your thread forward to the same spot even with the point of the hook.
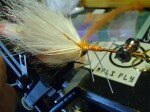
- Select a marabou feather that has a thin center stem and good flowing fibers. Peel the fibers backwards and tie the marabou in near the tip with 1-2 wraps, then pull that piece backwards and add 1 more wrap.
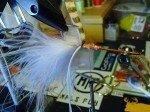
- Advance your thread forward to the half-way point of the hook shank. Palmer the marabou forward being careful to not bind any fibers underneath each wrap. Stop and tie it off before you get to the thick brittle stem of the feather, using 5 wraps over the marabou then three behind before trimming the excess stem and feather. Straighten and make sure the fibers wrapped neatly then blow or use your left hand to pull the fibers back evenly. Brian Wise has a few awesome videos on you tube showing this technique. https://www.youtube.com/watch?v=SlSvnycHDZE&feature=c4-overview-vl&list=PL550F52FC398332B2
- Wrap thread back to starting point even with hook point.
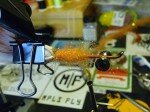
- Dub with UV Ice Orange about 1/8” forward.
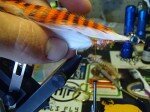
- Select Magnum rabbit strip 3” piece if you separate the hairs so that you can make the cut as to not waste material you moisten the hair as you separate it will stay in place just like good ole mom giving you that last minute tune up. Place the rabbit strip on the top side of the hook aligning the tip just behind the eyes. Now this being a barred strip that has transferred some of the barring to the skin side makes seeing where this going to line up a little easier. Use your thumb nail to mark the spot where the rabbit strip will ride at back of hook. Next step will make this clearer.
- Flip hook up and pierce thru center of strip slide it back and down the bend. You will have to remove it from the vise after piercing to get it the rest of the way down.
- As you pull the rabbit strip to its final position be sure to keep the marabou free of any binds. 20. Pull the strip forward and secure with a clip if u choose makes tying this in a little simpler. 21. Like before separate the hair of the thread using a little moisture always helps, (spit if need be lol). Make a loose wrap to keep the strip centered then progressively make tighter wraps about 5 total directly on top of each other, then 3 underneath to the hook shank. Next unclip and pull the forward section of rabbit strip back out of the way for now and return the hook point downward position.
- Wrap thread forward 1/8” then tie in rubber legs from their center point. I do one side at a time first wrap down to the hook shank then pull the leg towards the back and wrap thread backwards securing the leg in move to the front and secure next leg on the opposite side the same way.
- Use a little more dubbing to cover that tie point, less is always more with dubbing go easy a couple fiber go a long way.
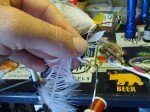
- Select a Schlappen feather pluck the rough fibers near the base of the stem, next tie the feather in near the tip by slightly peeling back adjacent fibers. Wrap forward making a nice taper then return the thread to the tie in point.
- Next step make a dubbing loop about 4 ½” long. Wrap thread forward to 1/8” behind eyes and use whip finish to tie off place bobbin rest. ( if you have a rotary vise make this step easier) pull out a small amount of dubbing then stack it sparsely inside the loop, spin up a snug dub.
- Wrap forward and tie in with 4 secure wraps then trim from dubbing tool.
- Pick fibers out and brush forward ( I made this little tool with a piece of Velcro and a small wooden dowel).
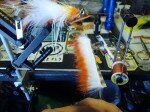
- Palmer Schlappen feather forward slowly pulling back the dubbing as you advance forward so that the long dubbing fibers mix between the feathers fibers. Tie in with 4-5 secure wraps and trim stem of Schlappen. Brush out to mix dubbing and feathers.
- Advance thread forward then tie in legs same as before working backward to tie them in.
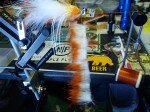
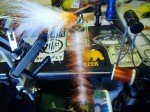
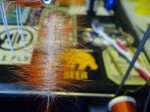
- Tie in EP tarantula brush by tip just behind the eyes. Make 3-4 wraps and tie in, pick fibers out if any got over wrapped.
- Tie in EP tarantula brush by tip just behind the eyes. Make 3-4 wraps and tie in, pick fibers out if any got over wrapped.
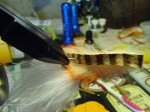
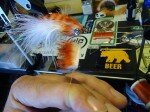
- Turn hook up and spread Schlappen and tarantula brush material from the center where rabbit strip will be placed. Pull the rabbit strip forward and tie down with secure wraps then do a figure 8 a few times around the eyes to add a little more for skin then trim the excess.
- Secure everything with Clear Cure Goo Hydro for added strength.
- Next prepare another rabbit strip 2”-3” and make a dubbing loop approximately 5” long.
- Place rabbit strip between loop and trim close to the skin as possible, take your time and keep pressure on dubbing tool to help pinch fibers between a little tricky first couple times but you’ll get it. Just be patient and take your time use a longer pair of scissors to make this cut it helps. The fibers move very easily in this loop.
- Once trimmed spread the fibers out slightly to make a smooth brush and spin it up. Lightly use the tooth brush to straighten and clean up the wraps after you have spun it tight.
- Make 3 wraps behind the eyes then figure eight around the eyes 2-3 times make sure to hold hairs back as u wrap so they don’t bind underneath each other. If you get to the front and come up short make another loop and add some more until the wraps are just behind the eye. Use the tag end of the dubbing loop to start a tie of point then moisten and pull back the fibers and tie off.
- Wrap a thick nose working backwards to secure the front of the hair.
- Whip finish and trim.
- Whip finish and trim.
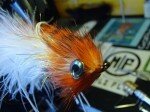
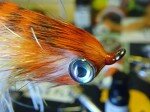
- Use the brush to split hairs evenly around eyes then lock everything in place.
- Add 2 thin coats of CCG Hydro.
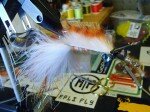
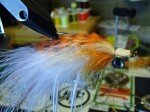
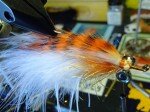
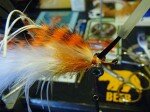
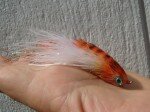
- B o o m EL TIGERE!
Take your new buddy for a swim and rip a few lips. Until next time kiddies if the ladies don’t find you handsome at least they can find you handy, lol keep your stick on the ice! Honey, I’ll be home after I help Frank jump start the Taco Wagon….
This was my first tutorial so any advice or criticism will gladly be taken with a smile. I hope you all enjoy this pattern and may it fish for you just as well… Tight lines everyone!
Ian Bohon
Big Daddy Bone

