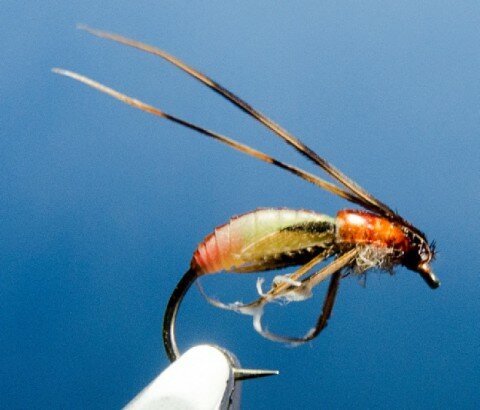
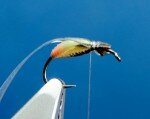
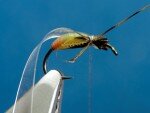
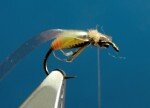
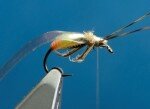
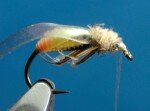
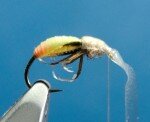
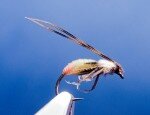
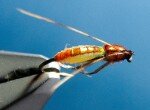
It is a very worthwhile when you are on a river to turn over a few stones and see what is crawling around under there. Pete, at the Fly Fishing Shop, in Bakewell, carries a small aquarium net with which to catch insects that drift past. You can also purchase a seine net to fit the frame of your snowshoe landing net. Pete commented that these must be the most expensive pieces of equipment ever, judging by the very few anglers that carry them. Finding out what is going on in the water is a great clue to catching fish.
There is now another kind of stone turning exercise that we can do from our living room or office. Simply type the name of the insect into Google and hit “Images”. You will find a wealth of information in seconds. That was where I started with this caddis pupa.
Just having a photo of what you want to imitate is a good start, but you need much more. You need an inquisitive approach to your fly tying. Have you ever asked why a particular material is used? I have been asked, “How do you use such and such material” frequently, far less often have I been asked, “Why do you use that material?”
When you understand what properties materials have you will know when and how to use them in creating a new pattern. That is what makes me hesitant in offering step by step instructions for my fly patterns. If you follow the instructions you will end up with the fly, but will you have learned anything about fly tying? I hope you will take more from my tying instructions here than just how to tie this fly. A friend saw this fly and used the translucent body with colour under it to create a corixa pattern. I hope that is the kind of thing you will do with my offering.
Regards,
A.
http://www.crackaigflies.co.uk
This pupa is tied on a Kamasan B100 size 12, though you can use whatever hook you like.
Also you will need:
- Fl. Fire Orange UTC 70. Or similar bright orange thread.
- A strip of translucent Nymph Skin (narrow, 3mm)
- Green metallic tinsel, holographic or standard.
- Fine strong thread, such as GSP.
- Two partridge outer wing covert feathers. Or any nicely marked feather.
- A strip of Flexi Body
- Golden pheasant tail fibres
- Cream / tan dubbing
- A brown permanent marker pen.
- Put your hook in the vice, start your thread. I usually start the thread where the body and thorax will meet. It gives me an “aim point” for finishing the body.Take your strip of Translucent Nymph Skin, cut across the end at a shallow angle about 20° to make a point. This is the way Nymph Skin is always prepared for tying in when it is to be wound.
- Catch in the point you made on the Nymph Skin with a couple of turns of thread.
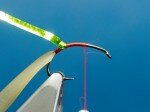
- Advance the thread about 1/3rd of the way back toward the start point and catch in some Green Tinsel. Using the same technique as the Nymph Skin. Continue the thread to the start point.
- Wind the tinsel to where the thread is hanging. It doesn’t have to be as neat as you would do it for a tinsel body (hence the single layer). You are just creating blocks of colour that will show through the body.
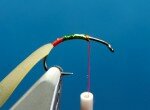
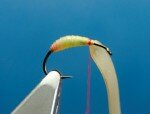
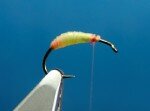
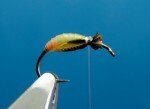
- Wind the Nymph Skin over the body. Adjust the tension as you wind to create a body shape you are happy with. Don’t be afraid to undo it and rewind it until you are happy with the body shape. Tie it off with a couple of tight turns.
- Trim out the excess Nymph Skin, close to, but not at the point you have tied it down. If you ping the hook at this point you will loose your Nymph Skin, so you may like to put in a half hitch to stop this.Change threads to your fine GSP thread or similar. It is helpful to be able to put more pressure on your turns from now on than you can with UTC 70.
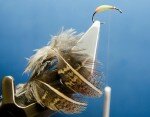
- Take a couple of well marked feathers from a game bird. I’ve used partridge outer wing coverts only because these are feathers that are left over when all the usual feathers are used from a skin. You can use whatever you have on hand. If the feathers you have are light in colour you can colour them with your brown marker pen.
- Prepare your feathers as shown. I usually match them up and treat the two as one for this stage, so I know they are the same.
- Separate the feathers and tie them in with a couple of bobbin weight turns at the point where you split the feather. Do this and the next step with one on one side then add the other on the other side.
- Lift your bobbin, to reduce the tension on the thread wraps, then draw the feather through the loops of thread to create the wing buds.
- Once you have both in place, and they are even in length, take a couple more wraps of thread over the tie in point and pull tight.
- Trim out the tips and butts of the feathers.
- The thorax cover is Flexi Body. The best (most economical) way to prepare Flexi Body is to cut strips lengthways along the piece, with a craft knife and steel rule. Only cut through the Flexi Body, not the backing card. If, like me, you use a lot of Flexi Body you can prepare whole pieces this way and write the size of the strip on the back of the card.(Please don’t use a scalpel for this. The blades are too flexible, they will wander as you cut. Not only is this dangerous to your fingers, but it spoils your Flexi Body as well).
- Tie in your strip of Flexi Body with the centre of the strip on top of the hook shank. Hold it in place and take one loose loop over the strip, then pull tight. This wraps the strip around the hook, stopping it puckering.
- Tear four fibres from a golden pheasant tail so that it creates a tag of stem material on the end of the fibres. Tie in the first pair at the same point you tied in the Flexi Body. They should angle out and down, with the tag curving back under the hook.
- Take a pinch of your dubbing. Mine is a mix of light hare’s mask and cream CdC. You can use whatever you have in appropriate cream / tan colour.Make a dubbing noodle and wind over half the thorax.
- Tie in the second pair of legs just as you did the first pair.When you trim out the excess fibres save them. They will form the antennae.
- Apply more dubbing to complete the thorax.
- Pull the Flexi body strip over the thorax. Put quite a lot of tension on it to shape it to the thorax. Tie it off with several tight turns.To trim the strip out pull the loose end and nick the near edge of the strip with your scissors. The strip will tear across.
- Tie in the two golden pheasant tail fibres you saved from the legs. Trim them to length.
- Run the nib of your brown marker pen down your thread.
- Whip finish and trim out the thread. The section of thread you coloured with your marker in the last step will form the head.
- Mark the back of the abdomen and the thorax with a brown marker pen.Coat the head with Diamond Hard UV resin. Fold the antennae back and zap it with your UV light.
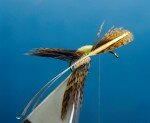
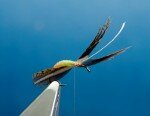
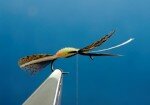
- Job done.The intention with this fly is to create a fly that looks as if it will pop if you squeeze it. Nymph Skin is ideal for this application. The natural is not green on the outside but green showing through from the inside, with a pinkish tan coloured outer. My inspiration for this fly was a photo of an apple caddis pupa.Hope you enjoy giving this a go. Lots of the skills and techniques are easily transferred to other patterns. Already a friend is using the abdomen to create corixa patterns.

