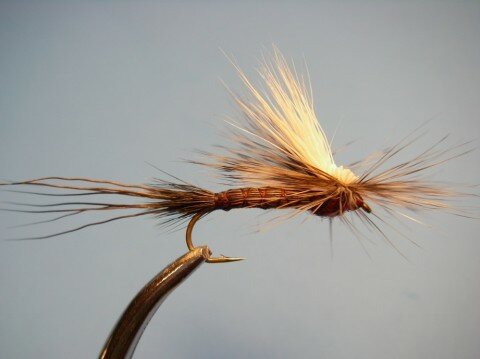
The Tilt-Shoot Iso is a pattern I created and have been using the past 10 years with great success. While it isn’t the easiest fly to tie for those unfamiliar with hair body patterns, you will find vast improvements after a number of attempts.
This version of a parachute provides a realistic silhouette of the wing while the pattern sits low in the water for fish to easily see — important when fishing broken water. You can change the body color by changing the thread color to tan or olive, and its worth tying some with a more natural gray color wing/post. Tie this pattern in smaller sizes and you will find it will work as an imitation for a number of mayfly spinners.
Ted’s Tilt-Shoot Iso is available from Rainy’s Flies and can be bought in stocking fly shops. Below are tying instructions for you fly tiers.
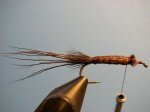
Tilt-Shoot Iso – Isonychia Fly Pattern
Hook: TMC 5212 10 – 14
Thread: Uni-6/0 Wine
Tail: Moose Body
Body: Moose Body
Post: Deer Belly Hair – White
Hackle: Grizzly Dyed Dun
Thorax: Fine & Dry Dubbing – Isonychia
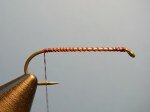
- Place hook (size 10) in vise and wrap a thread base from behind the eye to above the barb.
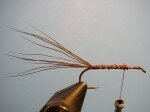
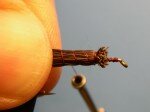
- Cut 6 – 8 moose body hairs, clean and stack/even them and tie in on top of the hook about one hook gape’s distance behind the eye. Tie down along the shank to above the hook barb and back again.
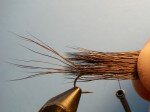
- Cut a large clump of moose body hair (approx. the thickness of two wooden match sticks), clean and stack/even. Measure the hair by laying the clump along the hook where the tips extend just beyond the hook shank. Trim the butt ends so the body will extend from the where we tied the tail in to just beyond the shank.
- Lay the clump of moose along the hook making sure it completely surrounds the hook shank for complete coverage. After a few wraps to secure it in place, hold the moose taught with your left hand as you wrap the thread towards the hook bend with the bobbin in your right hand.
- Take the thread wraps to above the barb and make two tight wraps to secure and then wrap the thread back toward the hook eye crisscrossing the thread wraps making an X pattern. Once secured, trim off any excess butt material.
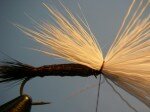
- Select a clump of deer belly hair for the post/wing (approximately the thickness of three match sticks). Clean and stack/even it. Lay the hair on top of the hook so the natural points extend to the end of the body.
- Tie in the post/wing where the moose body ends and do not trim the butt ends of the hair. Because the hair is hollow it can easily be cut by too much thread pressure.
- Pull both the tips and the butts up and wrap along the shank to encourage the hair to move upward. Tie in a hackle feather at the base of the post/wing with the dull side of the feather facing you. The feather, after being wrapped, should extend to the end of the X-wraps on the body.
- Dub a tight thorax on both sides of the post/wing that is slightly thicker than the body/abdomen also encouraging the post/wing upward.
- Wrap the hackle parachute style under both the tips and butts of the post/wing. Wrap the hackle firmly and it will compress and seat nicely against the post creating a durable hackling.
- Tie off between the hook eye and dubbing.
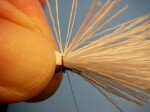
- Pull the butt ends of the wing/post forward and trim only the butts close to the base, just above the hackle.
- Pull the butt ends of the wing/post forward and trim only the butts close to the base, just above the hackle.
- Apply a drop of thin head cement at the base of the post and the thread head.
- Apply a drop of thin head cement at the base of the post and the thread head.

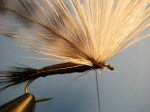
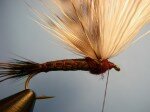
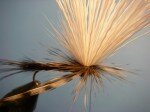
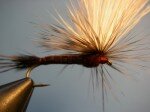
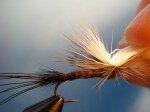
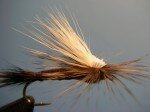
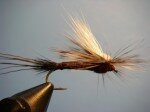
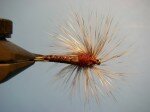






Absolutely LOVE this fly~ it is always in my fly box, from size #12 to 18, you never know when you can entice a selective trout with a properly placed Isonychia….
Tight Lines,
Koz
Nice!
Thanks Koz!