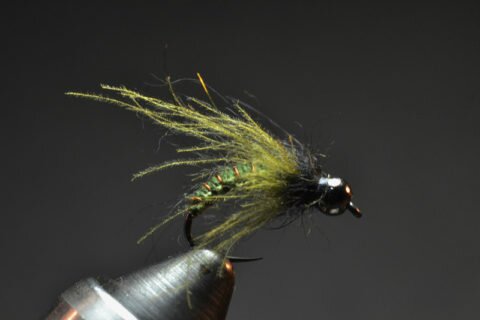
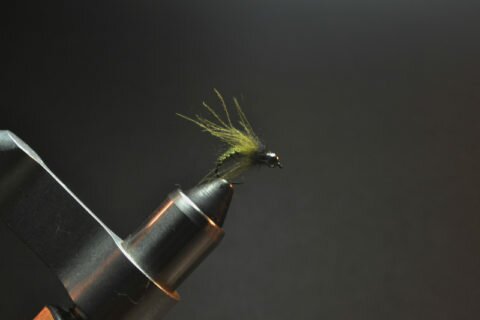
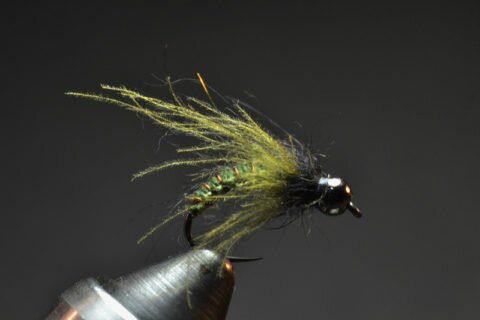
Material List:
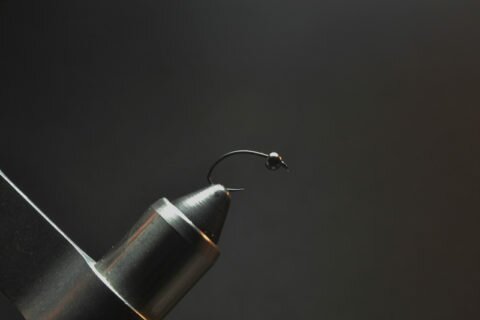
#12 Syndicate Competition Barbless Hook 202BK
1/8” Black Nickel Tungsten Bead
0.020 Lead Wire
70 UTC Black Thread
Danvilles Medium Copper Wire
DMC 935 Embroidery Thread
DMC 3364 Embroidery Thread
Live 4 Fly Fishing Olive Dubbing
Olive Dun CDC feather
Awesome ‘Possum Natural Nymph Dubbing Black
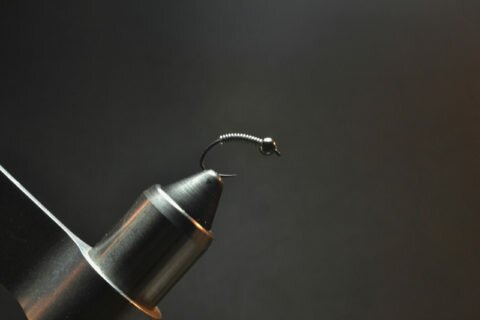
Wrap approximately 15 turns of 0.020 lead wire. Shove into countersunk bead.
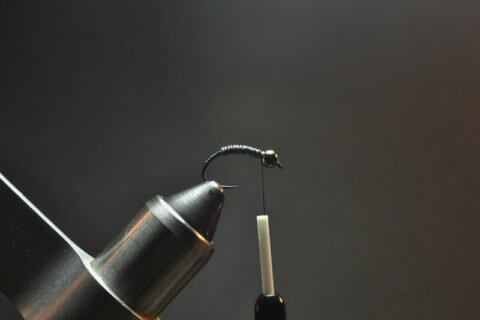
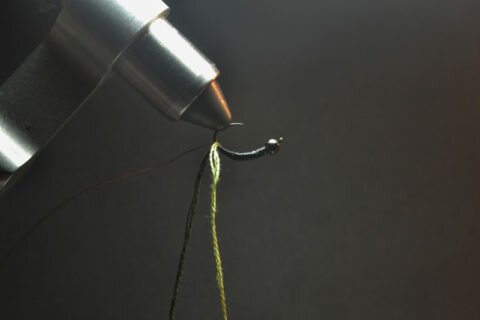
Secure lead wraps with thread.
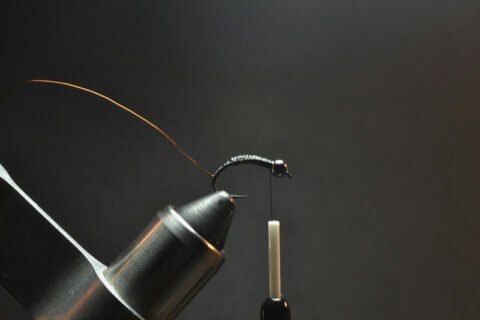
Tie in copper wire on the near side of the hook.
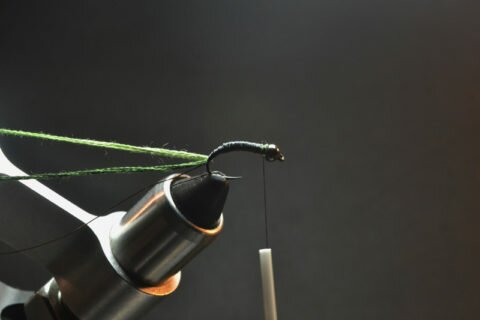
Tie in 3 strands DMC 935 on the near side of the hook (top color). Tie in 3 strands DMC 3364 on the far side (bottom color). Flatten UTC thread and taper underbody. Half-hitch and cut off thread.
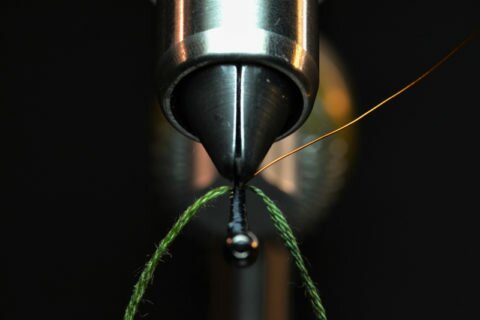
I like to rotate the vise jaws 180 degrees and weave upside down with the eye of the hook facing me. I end up with the bottom (Lighter in this case) color on my left and the darker (top) color on the right.
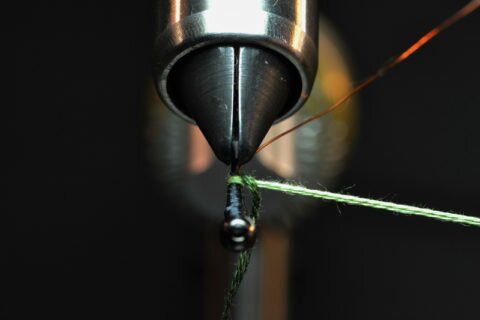
I like to wrap each set of thread around my middle finger on each corresponding hand. Consistent tension is a necessity. I use my index finger of each hand to fine tune the tension on the weave and also to create rearward pressure to eliminate gaps. There are two steps that are repeated all the way up the body. First, take the underbody color (in this case the left/lighter color) across to the right.
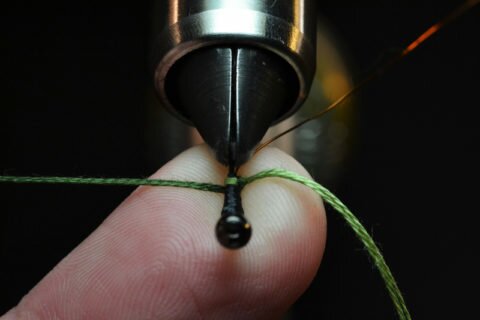
Second, the top (darker color) crosses over top of the lighter underbody color. You will bring it under the shank to the left side of the hook. *Disclaimer – I placed my finger here to maintain tension on the weave while I snapped a picture. It is not necessary when tying so long as you keep equal/consistent pressure on each thread.
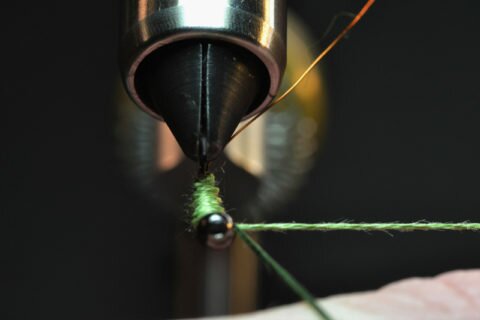
Continue this all the way up the hook shank, ensuring you pass the underbody color across first. Then, crossover with your darker color and go under the hook shank. Keep in min you want to keep some pressure rearward to eliminate gaps. Also, tension places an important role in dictating where your crossover points occur. Keep at eye on these crossovers that they smoothly follow the curvature of the hook. If you find that you struggle with maintaining good tension and your crossover points “slip” (you’ll know what I mean – and get frustrated), switch up your thread to 8/0 UNI Thread. It is not as slick as the UTC and offers a better grip.
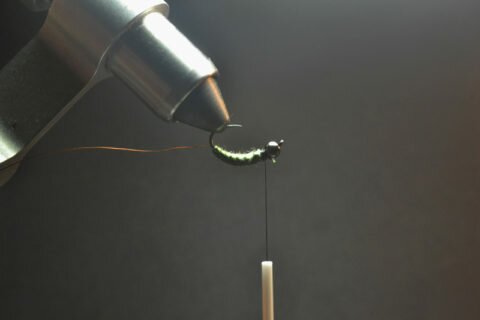
Weave the embroidery thread forward and tie off.
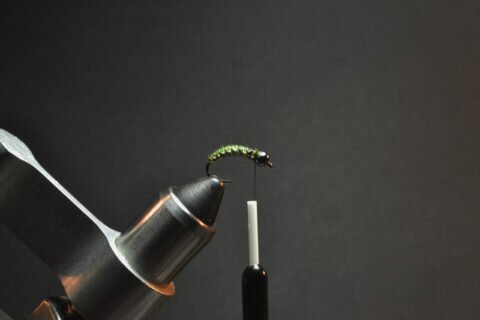
Counter-wrap copper wire between the crossover points created during the weave. Tie off.
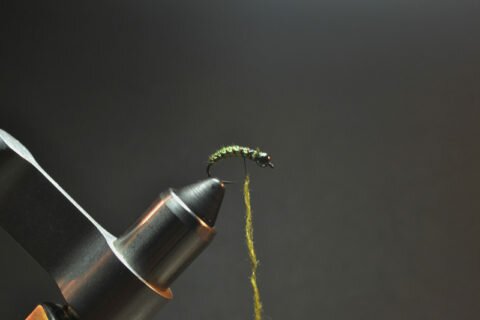
Move thread back approximately 1/3 of the body. Create a dubbing noodle.
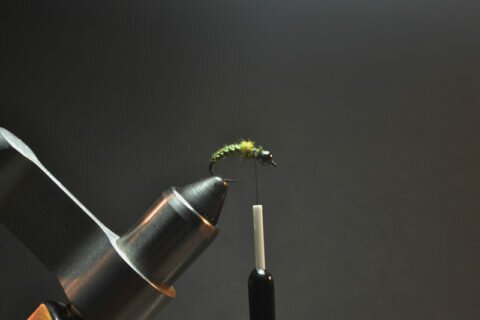
Wrap dubbing to create a ball. This will assist in flaring the CDC veil.
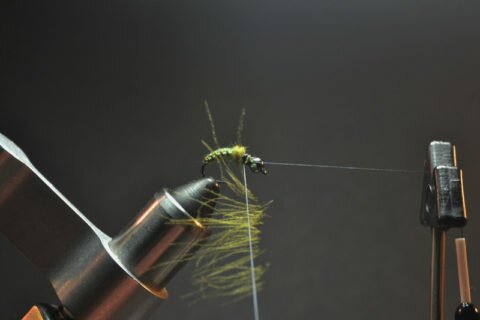
Create a dubbing loop and trap one CDC feather.
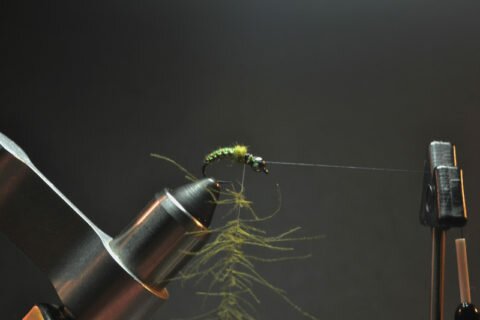
Twist the dubbing loop to trap the CDC and pick out with velcro or bore brush.
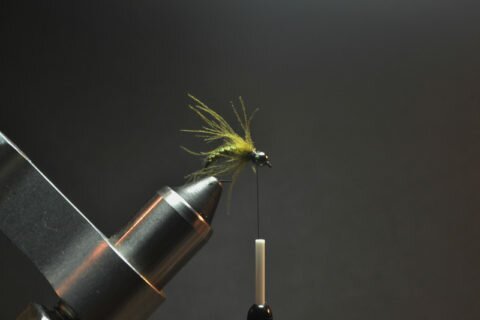
Wrap the CDC dubbing loop while stroking the fibers to the rear. Be sure to leave room for the dubbing collar.
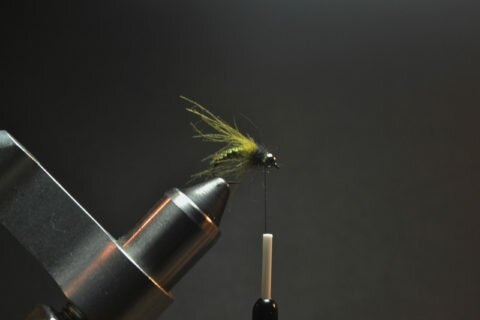
Loosely dub Awesome ‘Possum dubbing. Be loosely dubbing, you can easily comb the fibers back into the CDC creating a soft blending effect.

